I recently committed to silk-screening some tanks for a friend. I warned him it’s been a hot minute since I’d done so, so safe to say it’s been an experience re-learning to learn. And loved every minute of it. Not saying there weren’t frustrations, but definitely enjoyed getting back into it.
So, if you’ve been wanting to get into silk-screening, this blog is definitely for you, as pretty much starting back at zero. So hopefully this journey will be helpful for you.
Now the supplies you’re gonna need:
- Ink
- Squeegee: recommend getting a size a step down in width than the screen you’re working with. Like if your screen is a 10’ width, get a 9.5’ squeegee.
- Screens: In my opinion, the most expensive part of this process. Making a screen is a bitch, do definitely recommend store bought.
- Photo Emulsion: If you’re just starting out, recommend getting a kit, which would include both the emulsion and emulsion remover when you’re done with your project.
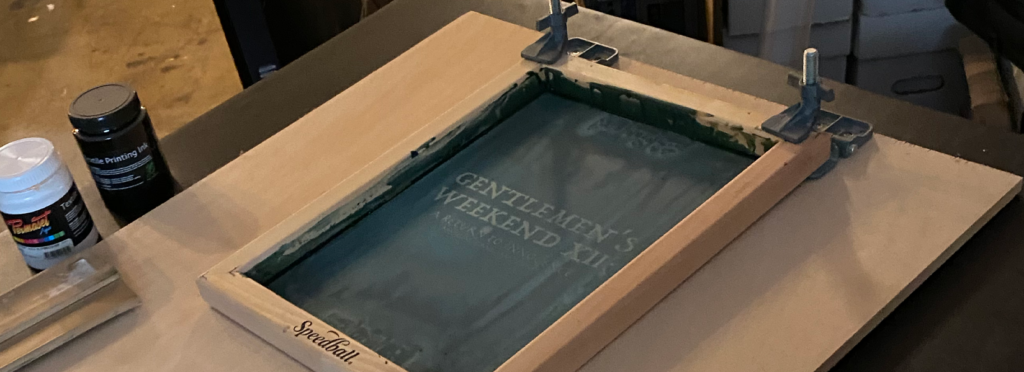
Optional items? Well, I got some screen clamps way back when, some wood from Home Depot and Macgyvered a screen press.
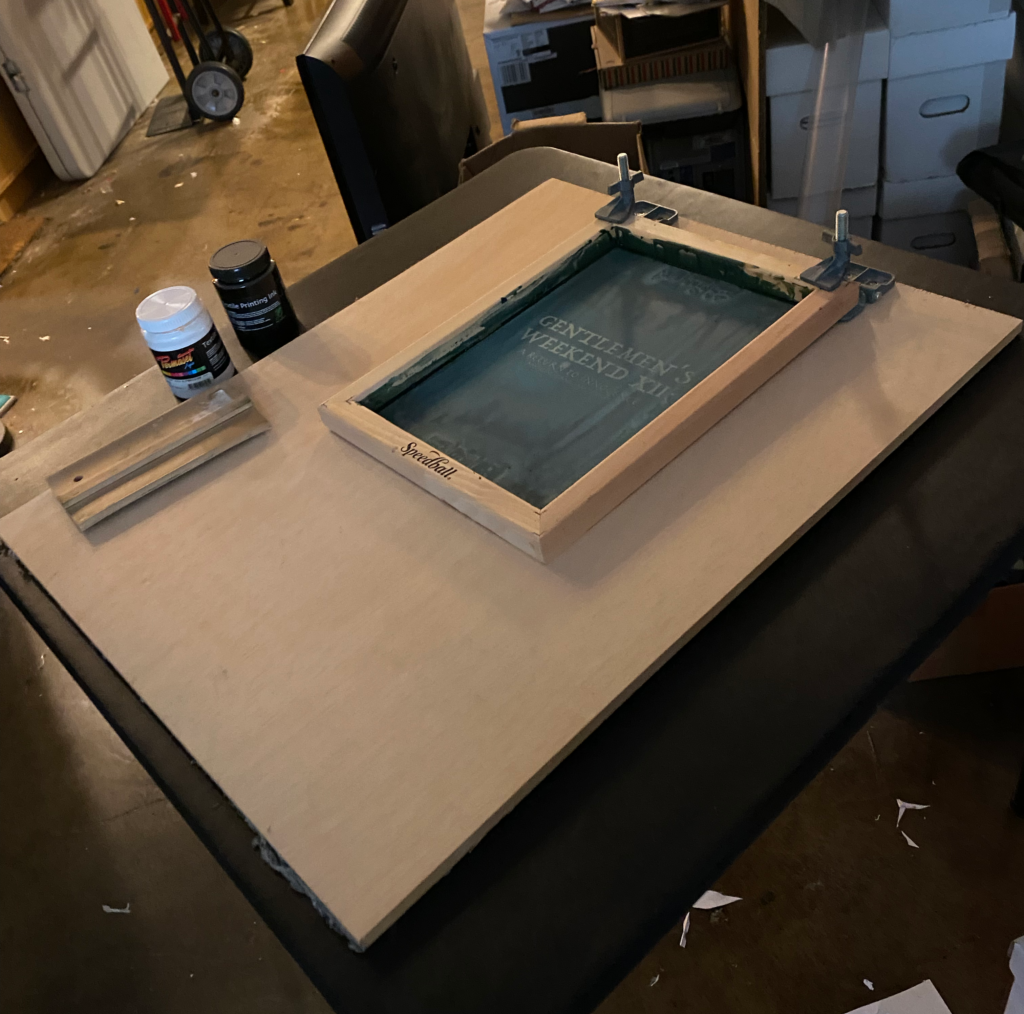
If you decided to research things, they’ll be people advising you don’t need to have something like this. But I definitely found it helpful to keep the screen steady and keep pressure down.
Now for the steps. If you’re an artist in any discipline, I’m sure you’re aware of the general bit: make a transparency, add emulsion to the screen, burn the art of the transparency into the screen, wash it out, and print.
But it’s a little more involved than that, but not by much. So don’t get scared. Now when you get your supplies, it’ll come with directions, but definitely came up a miss on the first go around, so this will definitely be the “adds” from the lessons learned on my end.
Okay, here we go…
Step 1: Make Your Transparency
If you’re just starting out, I probably recommend starting with a 1-color print. More practice you get in, by all means build up to a multi-color print, but definitely start with a single-color print. If anything, it’ll save you some money.
As for the transparency itself? Unless you have access to a laser printer or something, probably should go to your local copy shop. Because even though there are inkjet transparency sheets, it’s water-based ink, so it’s not gonna be opaque enough. Theoretically you could double-up, but I think it’ll just be easier if you went to your copy shop.
Step 2: Make Your Screen
This is where I got tripped up. Between using too much emulsion to using too little, getting that right amount is definitely the trick in my opinion. Too much, it’ll gunk up and may cause space when it dries, causing space between your screen and whatever you’re printing on. Ultimately causing bleed. And too little emulsion, you might get “spatter” spots that wash out after you burn in your design.
Ultimately, I’d recommend 2 coats of emulsion on each side, and you’re not waiting for a coat to dry, just coat one side, then the other, then repeat.
Seasoned screeners recommend an emulsion scoop, which I wish I had, but my timeline on my favor here didn’t allow time to order one & my local art supply shop was with without.
But if you’re without?
- Pour a line of emulsion at one end.
- Hold your screen at a 45-degree angle and with your squeegee at the end with the emulsion, lift your screen as you pull up your squeegee.
- Depending on the size of your screen and squeegee, repeat until you coat the side of the screen.
- Repeat steps on the other side.
- Repeat steps on both sides until you have 2 coats on both sides of the screen.
Now you might notice a fairly thick layer on the opposite side of the last side you coated, don’t worry, that’s fine, as long as it’s an even coat.
From here, place your screen in a dark place, like a bathroom or something to dry. Don’t forget to prop it up evenly, so you get airflow on both sides.
In terms of dry times? For me, it was about an hour and a half to two hours. But you’ll know it’s done when you don’t see/feel any wet/sticky spots. You can also put a fan in there to speed things up.
But once things are dry, time to burn in your design!
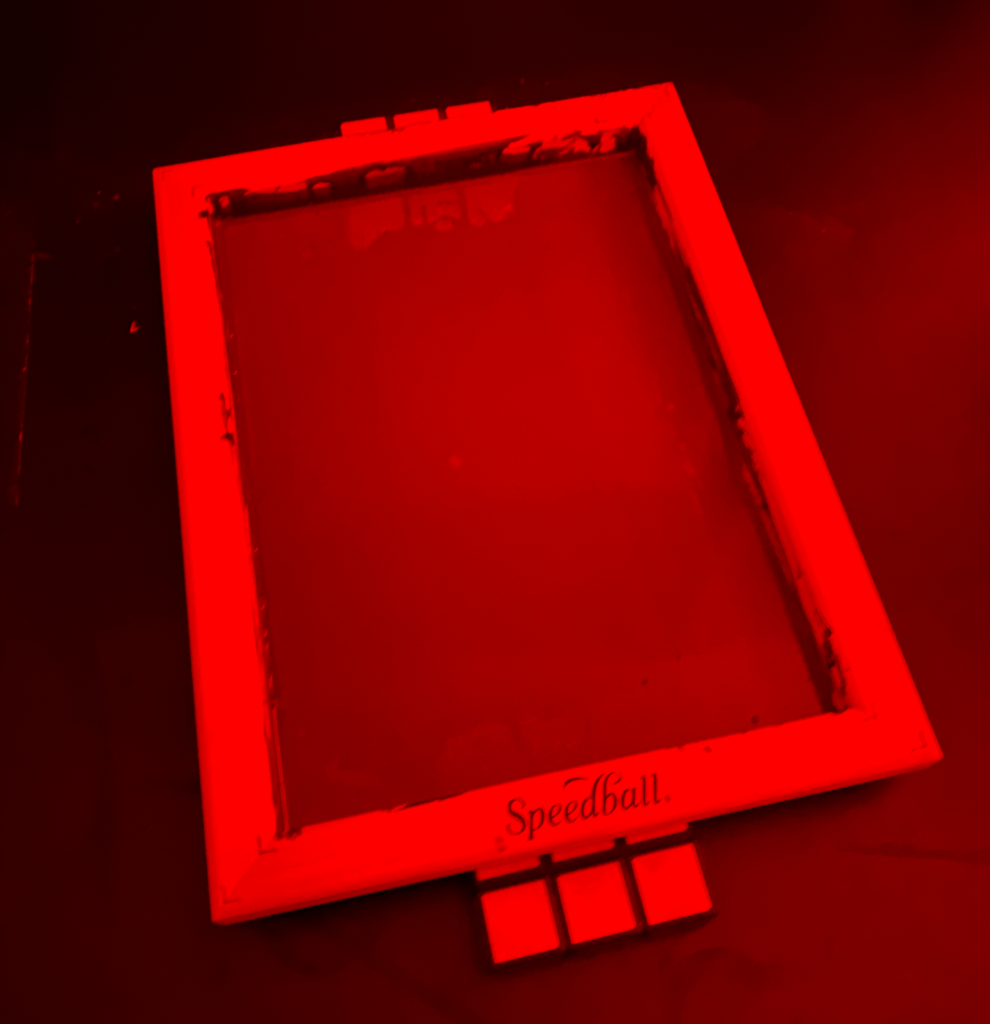
Step 3: Burn Your Screen
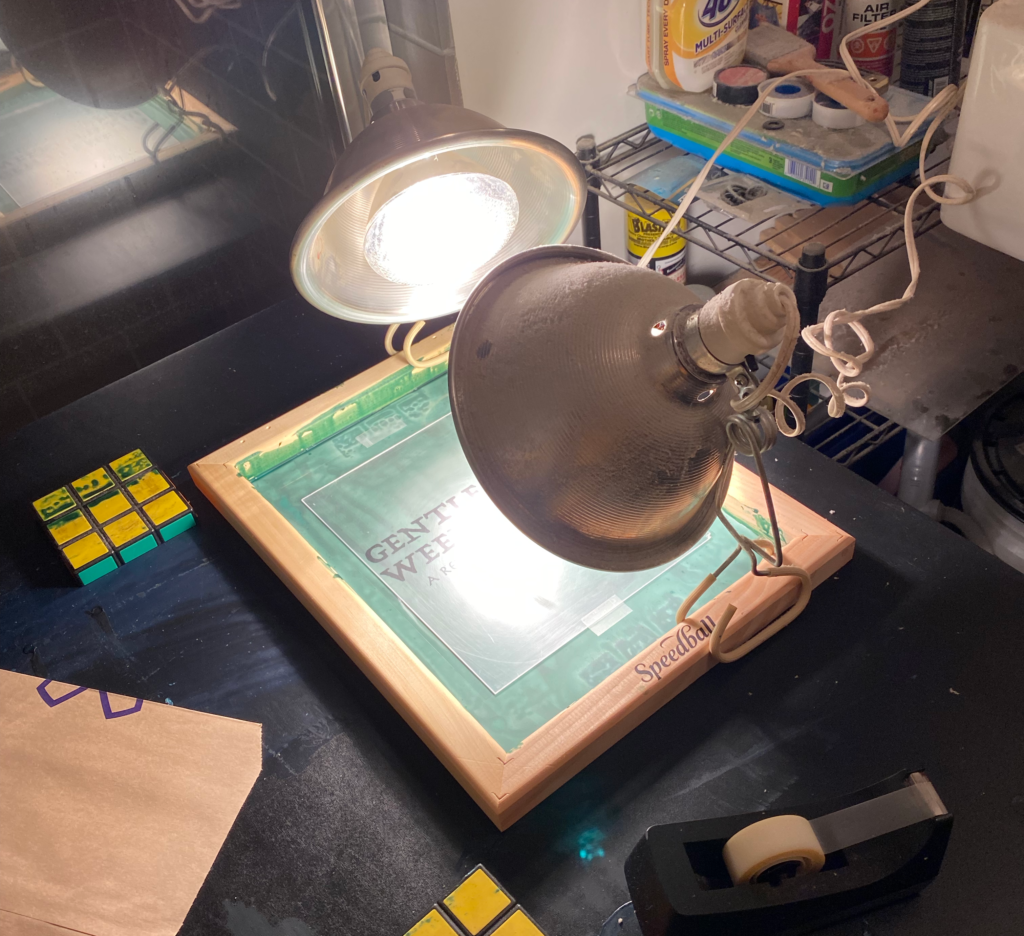
Okay, whatever darkroom you have your screen in, once it’s dry, place your transparency on the screen and tape it down with scotch tape. Now, whether you’re gonna burn this in the sun, lights directly on top, or a lightbox, weigh down your transparency with a bit of plexiglass or glass. The idea here is basically to reduce the space and protentional shadow between your transparency and screen.
For me, I used clip lamps for my light to burn the design in. If you go the same route, take note of the brightness of your bulbs. Whatever directions your emulsion comes with, it should have recommendations. For me, it was good enough, but not great, as there were shadows from the plexi edges that burned in the screen.
In terms of burn times? Should be about 10 minutes, after that, turn on the lights, remove the transparency and wash out your screen.
For me, I used my removable showerhead in the bathroom, set it to stream and went to town. Slowly but surely, you’ll see your design in the screen. If you’re curious when you’re done, after a bit, hold it up to the light, and you should be able to tell if you washed out the applicable emulsion.
For here, let your screen dry.
Step 4: Time to Print
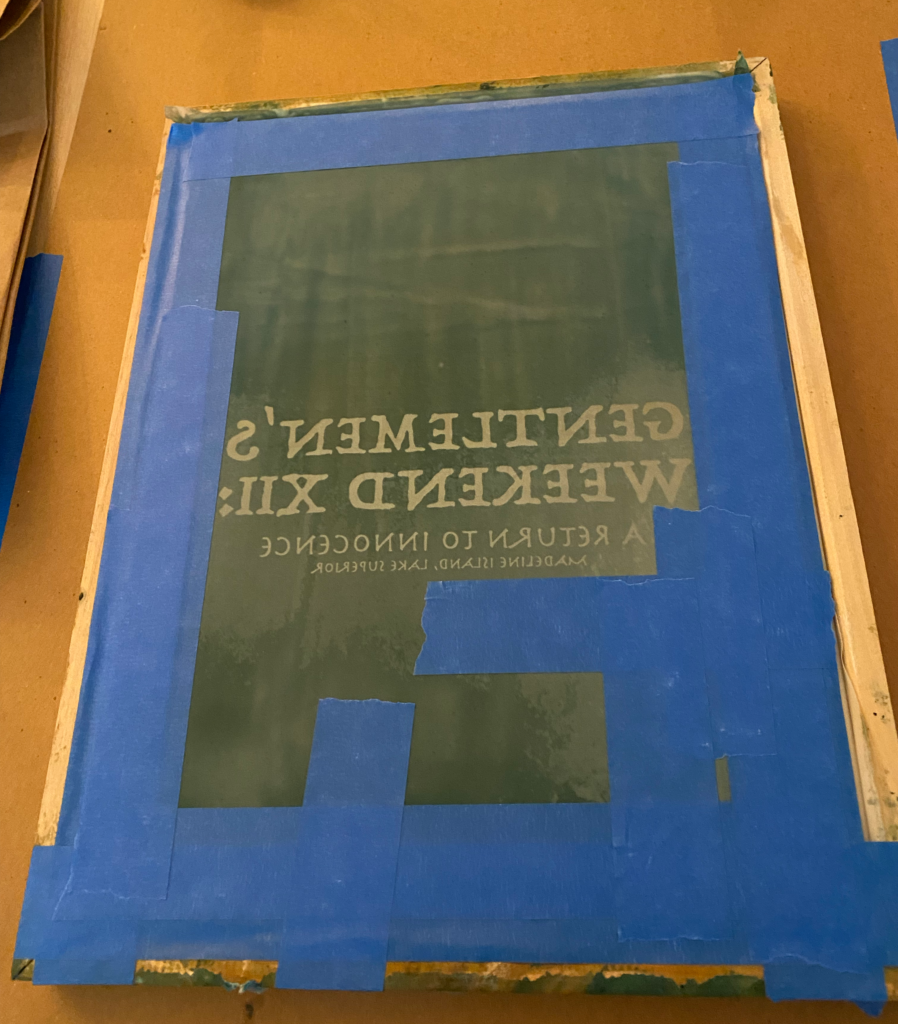
Once your screen is dry and ready to print, one thing I’d might suggest is taping off your screen. Both on the edges and to mask any areas on your screen that washed out that you didn’t want to.
Now, whether you’re making tees or posters, get all your stuff together. Set your media (fabric, paper, whatever) down, place your screen on top. With the screen, lift it a little and scoop a line of ink on the end of your screen furthest from you. With the screen still being held up with one hand, take your squeegee and pull the ink towards you. In the process, after you pull you should see your design, if you just have a layer of ink, you didn’t pull hard enough.
But this is called, “flooding the screen”, gets the mesh in your screen prepped with ink.
From here, lay your screen down on your media, hold it down, and with your squeegee and the ink at the end closest to you, push the ink to the top.
And BAM! You made a print!
Now I should say, in the experience I went through on this, I pulled a couple of times to get a print I was happy with. That is: flooded the screen, pushed up, pulled down, then pushed back up again. But that may be just me. You probably will be fine flooding the screen, then pushing up.

Conclusion and Things
But yea, that’s pretty much it. If you’re looking to get into silk-screening, hope you found this helpful. Lord knows being reacquainted with this, kinda want to make some more art!
Hope you guys make something beautiful today!